IP allow lists
To secure your cluster from distributed denial-of-service (DDoS) and brute force password attacks, access to your clusters is restricted to IP addresses that you specify in IP allow lists. An IP allow list is a set of IP addresses and ranges that, when assigned to a cluster, grant access to connections made from those addresses; all other connections are ignored.
YugabyteDB Managed only allows client connections to clusters from addresses in IP allow lists that have been assigned to the cluster.
Add IP allow lists for the following:
- Connecting from a client shell. Before you can connect to a cluster using ysqlsh, ycqlsh, or psql, you need to add your computer's IP address to the cluster allow list.
- Connecting an application. Add the public IP addresses of the instance running the application.
- Connecting a peered application VPC. Add the CIDR of the application VPC.
Each entry can either be a single IP address, a CIDR-notated range of addresses, or a comma-delimited list of addresses. For example:
- 172.16.0.0
- 172.16.0.0/26
- 172.16.0.0,172.16.0.1
For development and learning, you can use the range 0.0.0.0/0 to allow connections from any address. Do not use this for sensitive or production data.
The IP allow lists assigned to a cluster are listed under Network Access on the cluster Settings tab.
Limitations
- AWS clusters are limited to a maximum of 30 allow list rules. Each IP address or CIDR entry in an allow list is considered a rule. For example, an allow list with 15 comma-delimited IP addresses has 15 rules.
Assign an IP allow list to a cluster
To add IP allow lists to a cluster:
-
On the Clusters page, select the cluster, and select the Settings tab.
-
Under IP Allow Lists, click Edit List to display the Add IP Allow List sheet.
The sheet lists all IP allow lists that have been created for your account. -
Select the box for the IP allow lists you want to add to the cluster.
-
If you do not have any IP allow lists or want to create a new one, click Create New List and Add to Cluster and do the following:
- Enter a name and description for the list.
- Enter one or more IP addresses or CIDR ranges; delimit entries using commas or new lines.
- Click Detect and add my IP to this list to add your own IP address.
-
Click Save when done.
The allow list takes up to 30 seconds to become active.
Manage IP allow lists
Any IP allow list that you create is also added to your cloud's Network Access.
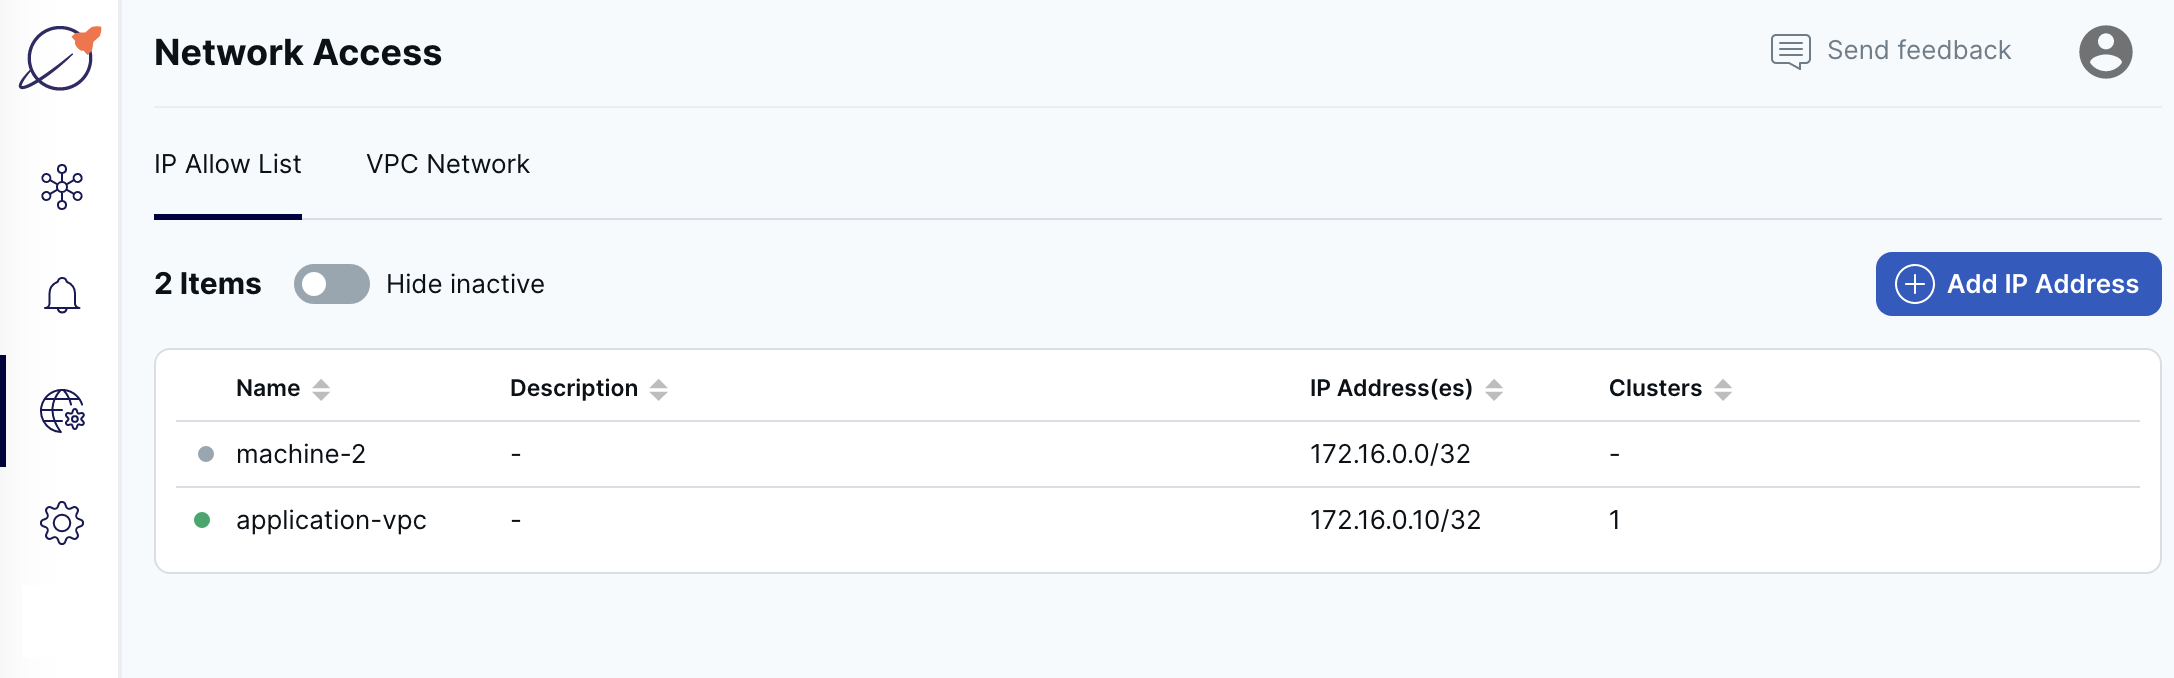
The IP Allow List tab displays a list of IP allow lists configured for your account.
To view an existing IP allow list, select it in the list.
Create an IP allow list
To create an IP allow list:
- On the Network Access page, select the IP Allow List tab.
- Click Add IP Address to display the Add IP Allow List sheet.
- Enter a name and description for the allow list.
- Enter the IP addresses and ranges. Each entry can either be a single IP address, a CIDR-notated range of addresses, or multiple comma-delimited addresses.
- Click Detect and add my IP to this list to add the IP address of the computer you are using to access YugabyteDB Managed.
- Click Add when you are done.
The allow list takes up to 30 seconds to become active.